
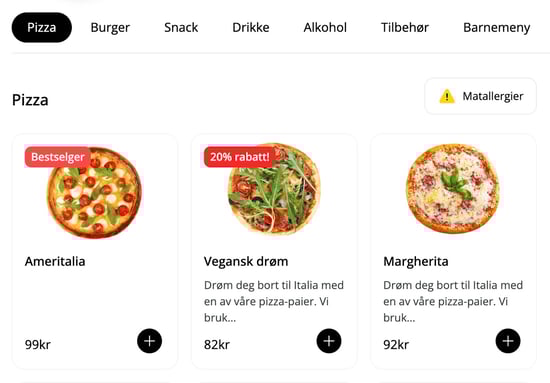
Categories function as groups for the products in your menu, such as "Pizza", "Burger," or "Drinks." Below is an example where the category "Pizza" contains all the pizzas offered by the restaurant:
▶ Video guide
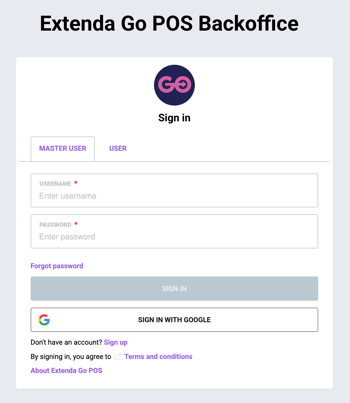
1. Log in to ExtendaGO.no with your master user
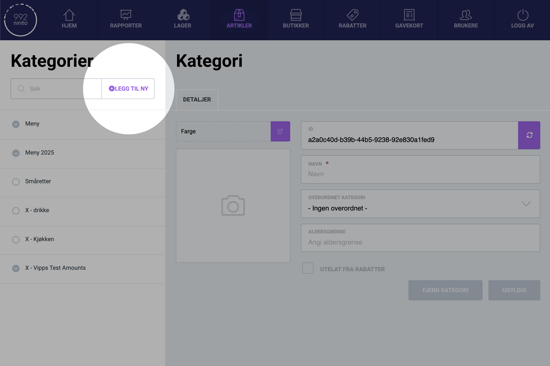
2. Mouse over "Inventory" and press "Categories"

3. Press "Add new"
4. Enter a name for the category
This can be "Pizza" or "Burgers", for example.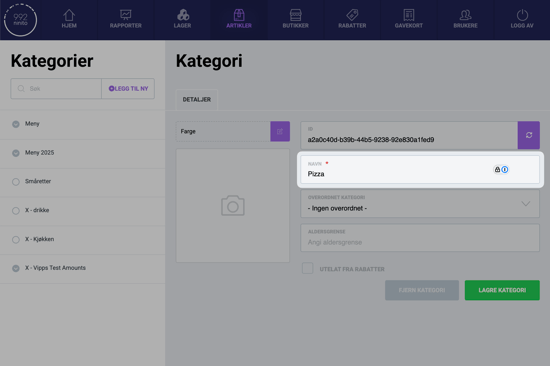
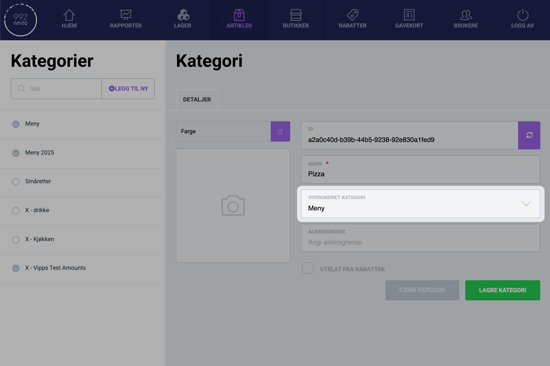
5. Choose "Menu" under "Parent Category"
Menu is the main category in the standard setup from ninito. If you want a category to be visible to customers in the kiosk and webshop, it must be placed under Menu.
Therefore, we select Menu in the field labeled Parent Category.
6. Save
Now that you are finished, you can press Save Category at the bottom of the page.
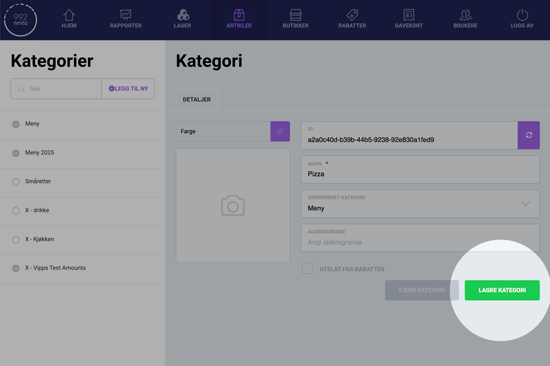
You must always remember to click the green button to save every time you create something new or make changes. If you move on to another product without saving, your changes will be lost.
Questions? Contact us via
support@992.no